Are you looking to create great product shots, but don’t know the first thing about object photography? Or are you a veteran product photographer who already has the product photography setup and just needs a few fresh techniques?
E-commerce sales soared 17% from 2016 to 2017 with no end in sight. To stay competitive, you’ll need great photos that set your products apart.
Read on to learn more about our best product photography techniques.
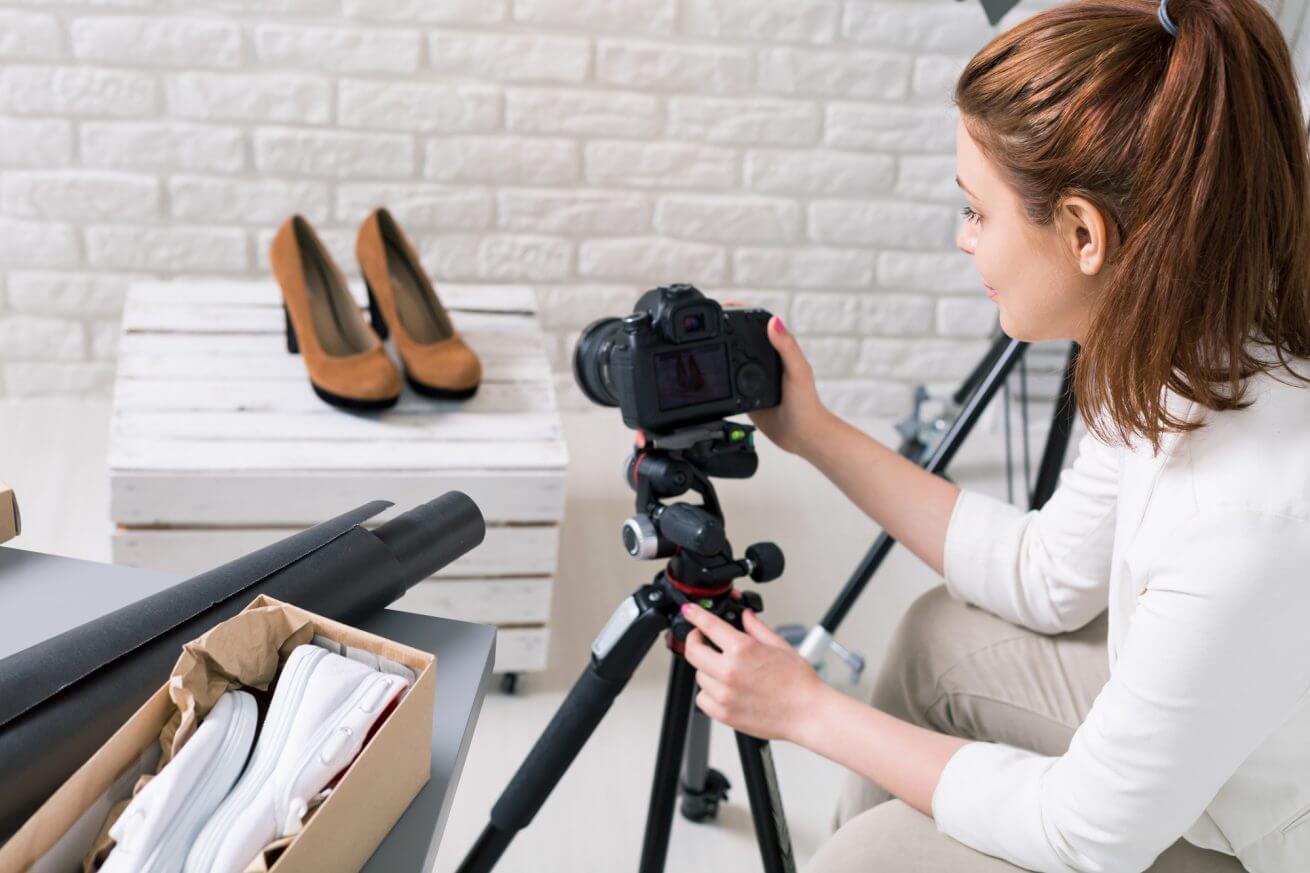
1. Get What You Need: Your Product Photography Setup
If you’re intent on creating your own DIY photography setup, you’ll want to make sure you have all the items you need to create professional looking shots that look as good (or better) than your competition.
Because technology has advanced, it is possible for you to create professional shots all by yourself. If you are a small company with a limited product rage, it may make more financial sense for you to hire a professional photography service for a single photo shoot.
Take a glance at your budget and decide if it is more cost effective to purchase the following items, or to hire a photographer.
The elements you’ll need for your shoot include:
Digital Camera
In addition to your digital camera, you’ll also need an SD card reader or cable. Alternatively, if your camera is wifi enabled, you may be able to transfer your photos without utilizing this method.
Computer
You’ll need a computer to edit your photos after you’ve finished capturing the perfect shot. If you’re looking to do your own photo retouching, you’ll want to make sure you have photo editing software as well.
This can mean utilizing a program like Photoshop to remove backgrounds and color correct your photo. If your photo doesn’t show the shade or detail of your product accurately this is an important change you should correct.
This helps to ensure that your product returns will be fewer because the item your buyer receive will better match the photograph in the listing.
Lightbox
The industry standard for product shots usually includes photographing your products on a white background in a lightbox. If you don’t already own a lightbox, there are lots of DIY lightbox tutorials you can follow to create your own.
Lightboxes can be purchased or built, depending on your budget. If building a lightbox seems like it’s beyond your level of DIY expertise, don’t worry!
There are lots of great photography services that can capture the professional shots you’re looking for. For more information on professional product photography, check out Pixel Pix Product Photography.
2. Tell a Story with Colors
If you want to create the best product shots, you’ll want to plan your photos in advance. You may also want to consider backgrounds and mockup that add more to your product shot than just the standard white background.
You can do this by creating colorful product mockups or even a product lookbook. Lookbooks can be especially effective for selling items like clothing or beauty products.
This is because it gives your audience the ability to imagine themselves utilizing the product. You can even utilize the psychological power of colors to convey feelings.
Colors can feel youthful and optimistic or dangerous and dark. Here’s a guide to a few of the colors commonly used in branding and advertising:
Yellow – Happiness & Optimism
Blue – Dependability and Trustworthiness
Purple – Creativity, Wisdom, and Imagination
3. Celebrate Your Brand in Each Shot
Make sure your product shots convey your brand cohesively and show your customer why they should buy your product. For many customers, this means selling them on the idea they can align themselves with the imagery created by your brand by purchasing your product.
Keeping your brand’s visual touch in your lookbook shots or product shots is essential. Your models should reflect your brand’s cohesive appeal, through makeup and aesthetic choices.
For instance, a company selling watches designed for athletic performance should feature a model who looks like an athlete, and not a celebrity or socialite.
4. Find a Great Retoucher
The last of our product photography techniques is finding a great retoucher who can help you put the finishing touches on your product shots. These graphics geniuses can help you remove backgrounds, fix minor photo flaws, and integrate your product photos into high-quality advertisements.
Our great backgrounds serve as the perfect canvas to showcase your products, once your retoucher has removed the background from your product shot, they can be easily added to your work.
Websites like Fiverr & Upwork offer on-demand retouching work for hire. These can be a great resource for those with small budgets or only a few shots in need of retouching.
Get the Picture
With your newly discovered techniques, we’re confident that your photos will create all the brand hype and sales you’ve been looking for. From a great product photography setup to images that sell your brand, your new photos capture the details of your product and the essence of your brand.
For more great tips on how to take your brand to the next level with stimulating visual images, visit our blog.