Do you remember when being interested in photography meant carrying bulky equipment with you? Now, everyone can take great photos with the newer generation of smartphones.
Yet, you’ll notice that many snapshots taken by mobile phones don’t have that “oomph” factor. The lower quality of the pictures is partly because of the camera’s limitations.
However, you can take excellent photos with your Android or iOS device by following these seven tips.
1. Getting the Right Exposure Is Essential
Many users usually point and shoot with good results. However, there are instances when some parts of your subject are either too dark or too bright.
For most smartphones, all you need to do to adjust the brightness is tap the selected spot on the screen, and your camera will automatically calibrate the exposure. If you’re using an iPhone, tapping the area will bring up a slider that you can move up or down to brighten or darken the scene, respectively.
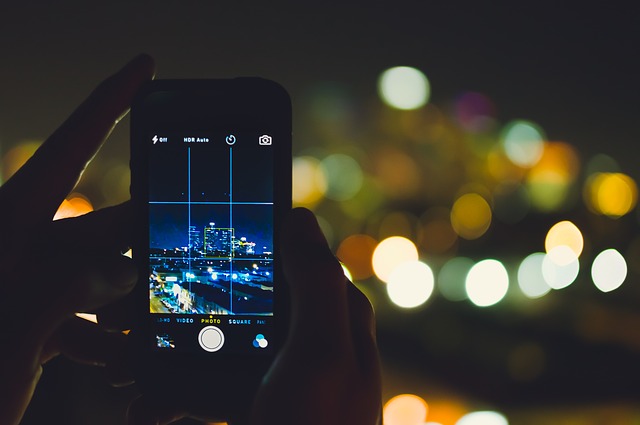
2. The “Rule of Thirds”
The above photography composition rule says that an image should be divided into thirds, vertically and horizontally. Each photo will end up having a grid with nine parts.
You don’t have to imagine the sectors because you can switch on the gridlines on your camera. When you place your subject along the four lines you see or where they intersect, you’ll balance your shot, and your viewer can connect with the pic more naturally.
The idea is not to place your interest point in the middle of the frame. For instance, when taking a snapshot of an individual with a beautiful background, position them slightly to the side.
3. Edit Your Photo
The availability of editing software and apps for mobile phones allows you to enhance and add final touches to your image to make it appear compelling.
You can also use filters to remove imperfections from a picture and enhance it. Now, there’s even a change eye color app to give you a look you want without the subject having to use colored contact lenses.
4. Wipe Your Lens
The lens of your camera is vital when capturing fantastic photos. A small scratch can ruin a perfectly-taken picture.
Smartphone producers are aware of this critical factor and design their devices to be scratch-resistant. Still, carrying your phone in your bag or pocket exposes it to dust and other substances.
You must ensure that both your front- and rear-facing lenses are clean before you take photos. You don’t want to have to retake them because of blemishes you detect during editing.
5. Choose Natural Light
Whenever possible, avoid using your flash. Most often, your photo will turn out overexposed. Your best option is to use natural light when you have it. You can even use lighting from other sources like neighboring buildings.
You can use your app’s exposure feature to enhance the image without it appearing grainy during editing.

6. Shoot in Portrait Mode
Did you know you can take photographs and blur the background without using a professional DSLR camera?
If your mobile phone has portrait mode, you can capture amazing pictures with a dreamy and blurred backdrop. Using the depth-effect feature, your subject in the foreground remains sharp while the scenery behind it fades.
You can use depth-control to adjust the effect after taking the photo.
7. Don’t Zoom, Get Up Close
When focusing on an object in the distance, you might want to zoom in, but that would make the image pixelated or grainy. It’s best to get up close to the subject unless it’s risky to do so.
If you need to keep your distance, you can take the photo from a convenient point and crop away the unwanted parts.

Keep Learning
These tips will get you started using your mobile phone to take better pictures but be sure to explore other ideas to make your photographs stand out.